Golden Rules of Carving - part 1
16.09.24

It's not Easter but imagine I'm giving you an egg box, into which I'm putting three shiny, golden eggs.
Next month (October 2024) I'll give you three more. So, in the end, half a dozen eggs in this box.
What are these eggs? My favourite 'golden rules': principles and ideas that I've talked about over and over again, not just of Woodcarving Workshops but with students, ever since I began teaching.
There are many more of these principles, these 'eggs', than six, but these are the half dozen I consider most important. If you take them to heart, incubate them so to speak, they will give your carving wings. (Hey, I didn't say they were chicken eggs!)
I'm not going to say much and I'd suggest you list and print out the titles, and stick them above your bench:

1
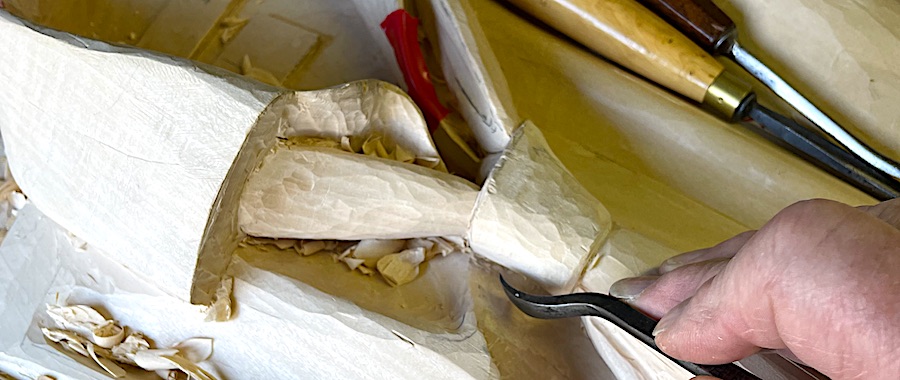
Your Tools are your carving.
Your carving tools are the interface between you and your block of wood; they are the channel through which you express your carving intentions, even express yourself.
It's more than just accepting that you have to sharpen carving tools; you need to see correctly sharpened and maintained tools as the start just the start.
A violin and its strings are inseparable from the music you play on it.
So are carving tools, at a deep, fundamental level, inseparable to your carving, and from what joy and success you have with it.

2
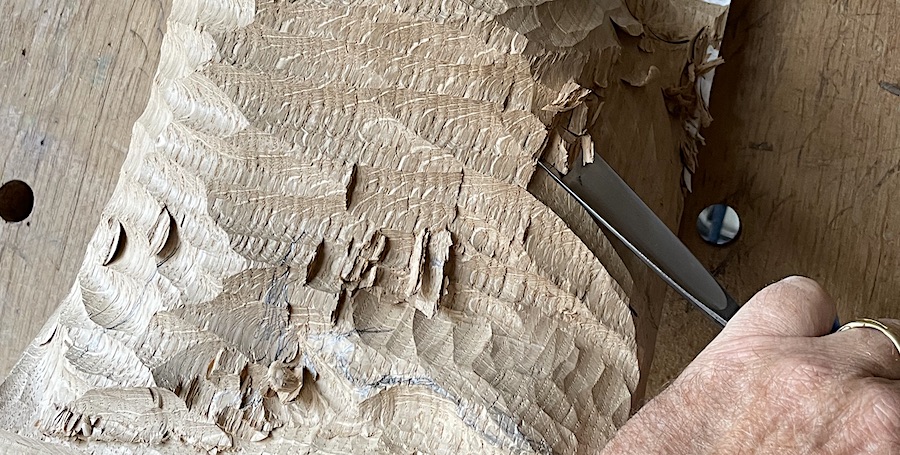
Carve the Form into the Space
You can't carve space.
You feel for the form, find it, with your carving tools, in the wood.
It's the wood you are working with. The space and spaces will take care of themselves.
Therefore - and here's an extra golden egg: Undercutting is a final stage, once the forms and edges are secure and fixed.
Can you see why?

3
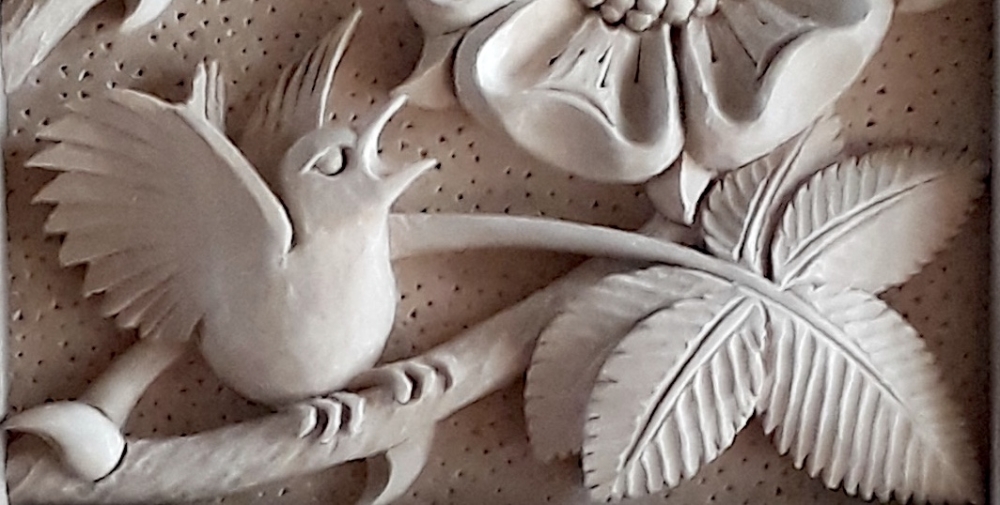
Big, Underlying Forms, First. Details Last.
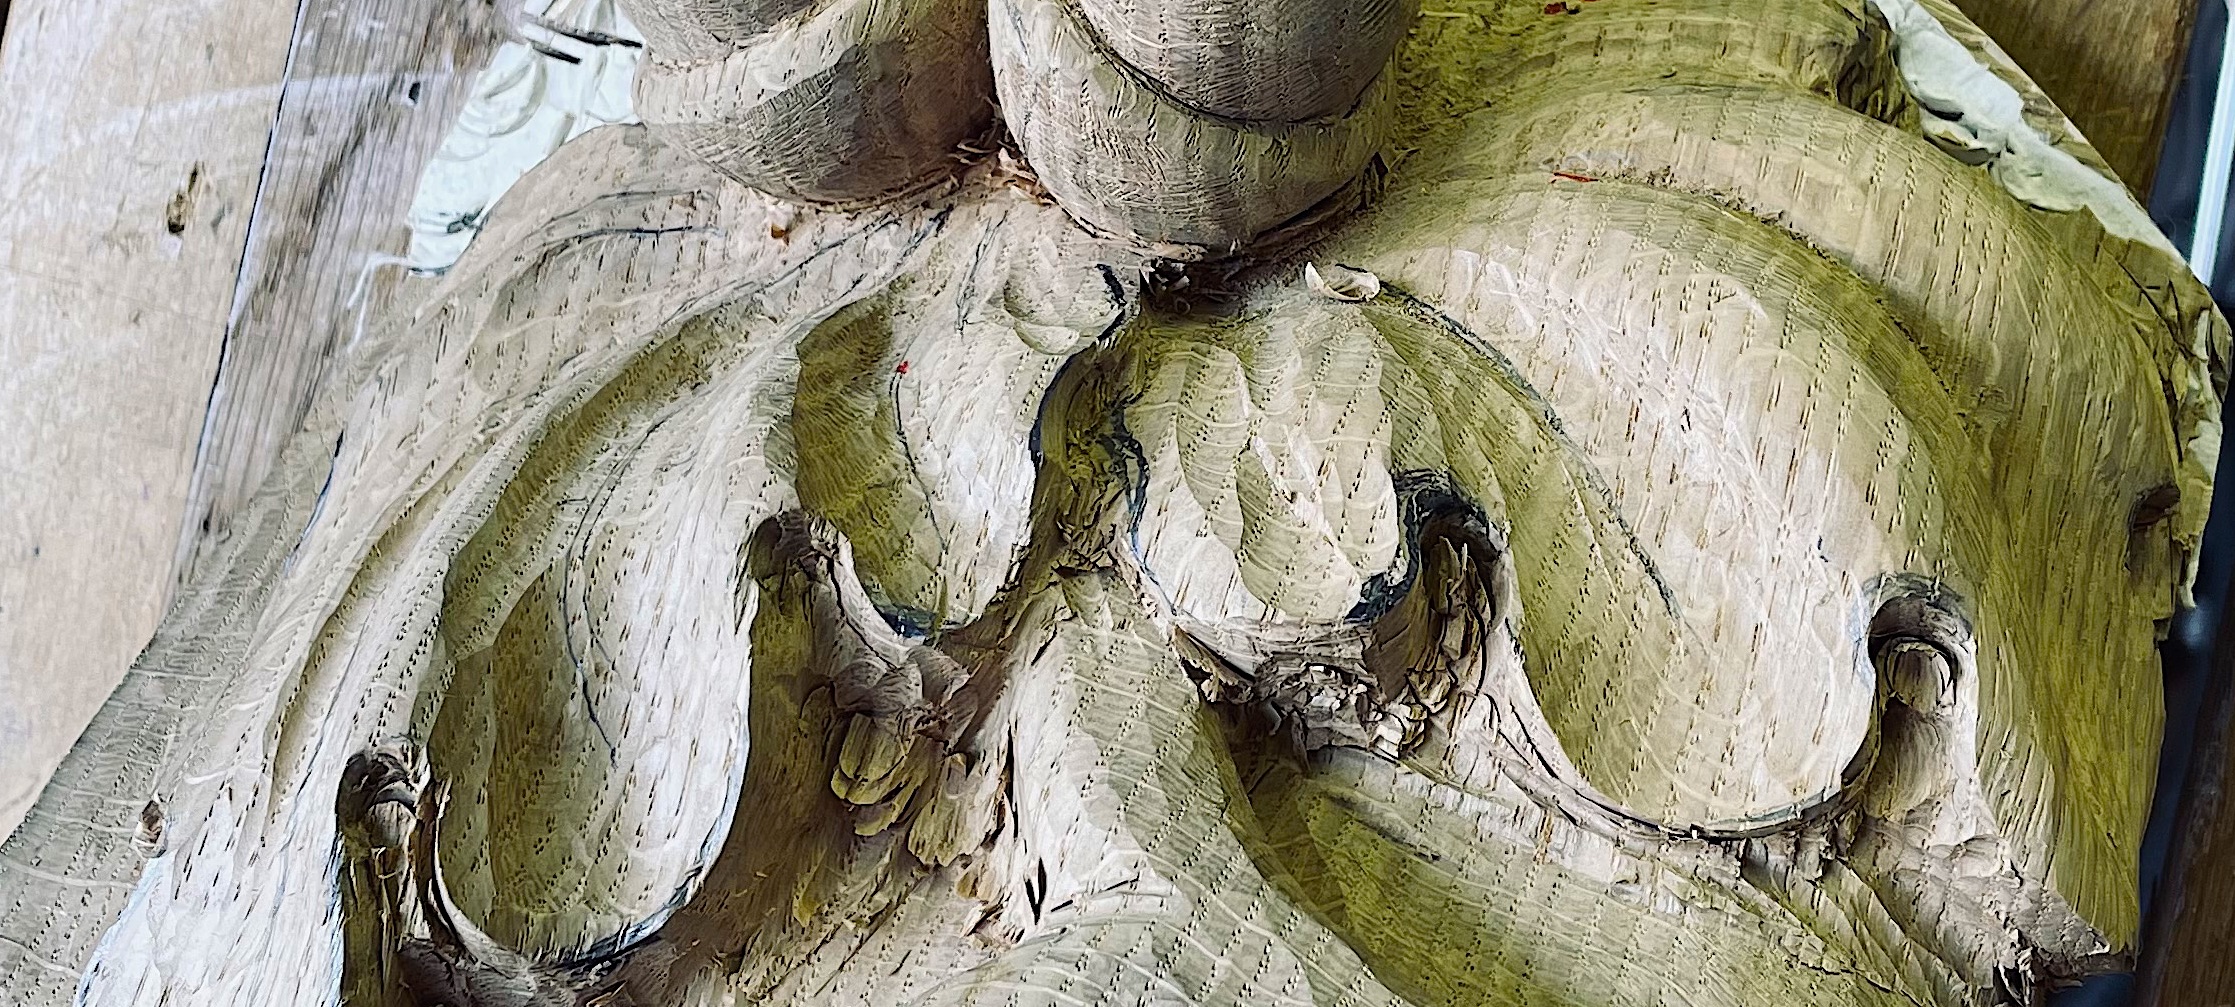
Establishing those underlying, underpinning forms and connections is what we carvers call Bosting.
With carving, you enter a word of relativity: each element of your carving is related to every other.
To find your way you must work from big to small; from reference 'high spots' and watersheds on the surface into the wood first, painting the big picture.
Do this well and subsequent modelling and details will fall into place.
